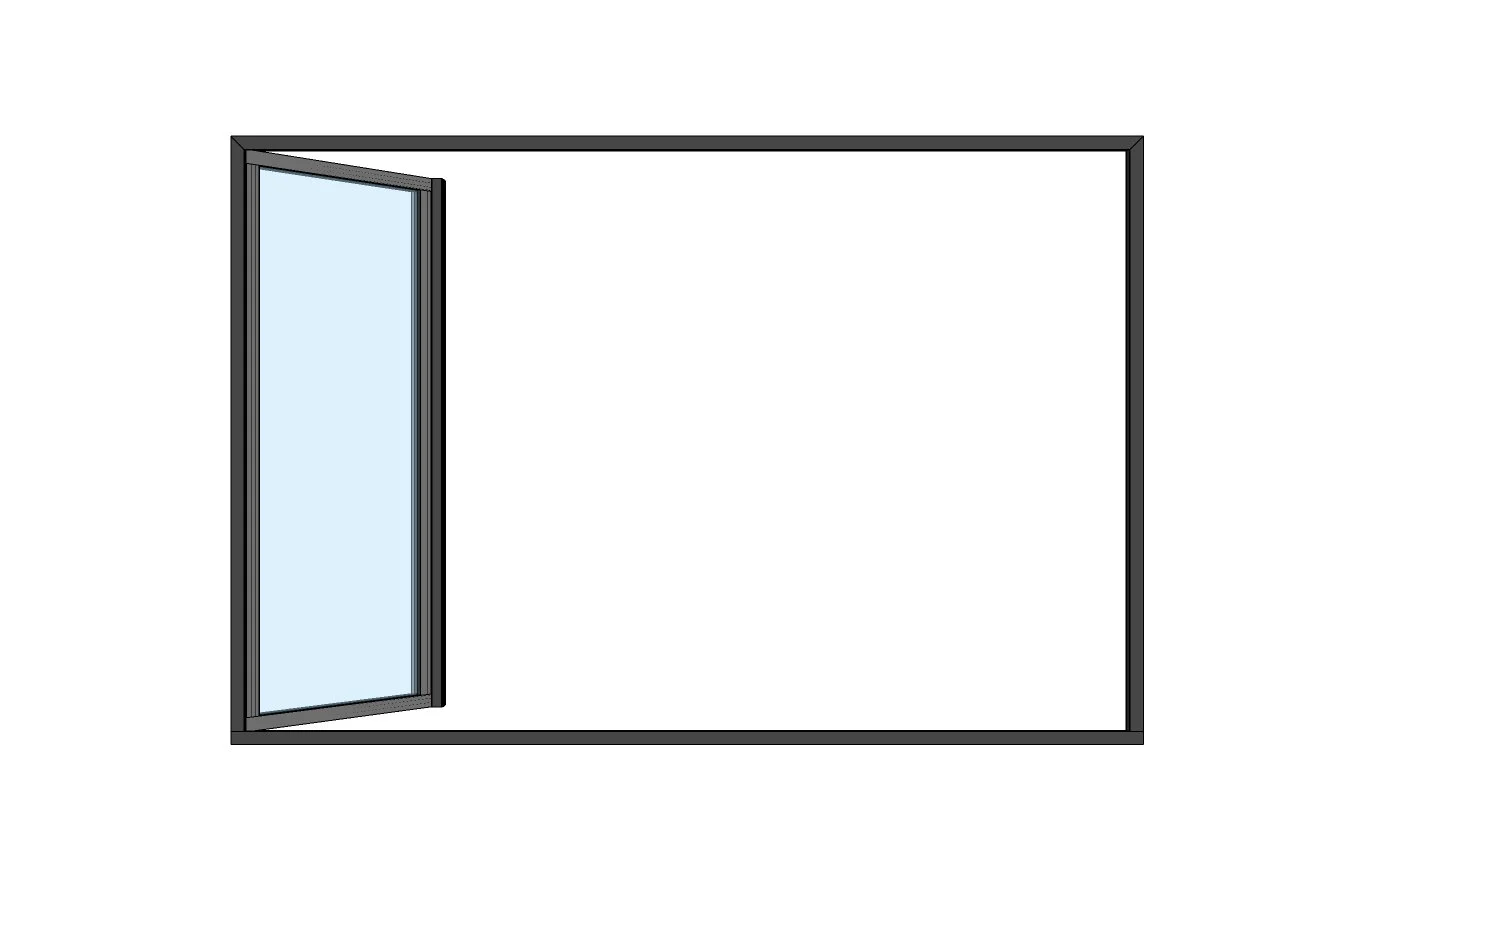
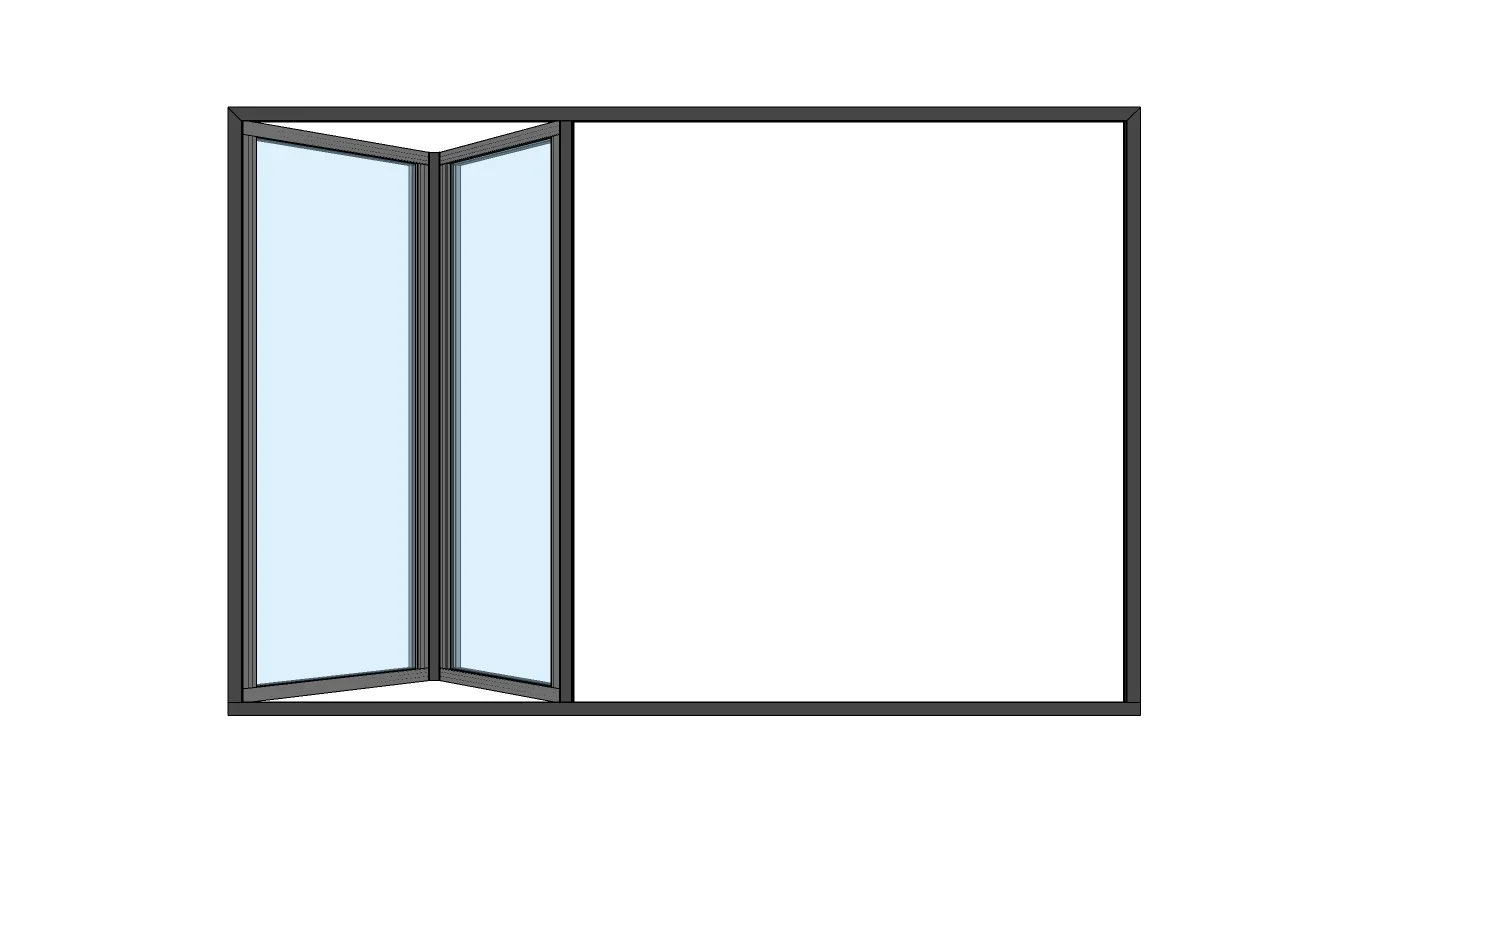
Installation
At Aube, all of our Door and Window systems have their own requirements for a proper install.
The hardest part about installing doors is the weight of the door and that the frame should be perfectly level in order to avoid issues with alignment. Install should always be done by a minimum of 2 persons.
Our doors can be installed in 1-2 hours and many of our customers choose to install the doors themselves. However, we do recommend getting an installer with experience in glass door installations.
STEP 0: Unpackaging Your Door
Your package is protected by an individual wooden crate, cardboard, bubble wrap, corrugated paper, and plastic wrap.
When opening the crate, carefully remove the wooden crossbeams and then the cardboard. Carefully cut through the bubble wrap to remove the door. Tell the installer to be careful when using a box cutter, knife, or razor blade so they do not scratch the finish or glass on the door slab. It is best to cut at the side and to lift the packaging up when cutting to avoid accidentally cutting into the door.
For operable glass doors - most of the systems will come with the panels, separate from the frame for ease of shipping and installation.
Next, the frame will come packaged in cardboard and bubble wrap. Make sure to carefully cut the cardboard and bubble wrap on the outside of the jamb to avoid accidentally cutting into the finish. If the installer cuts into the finish and makes a scratch, a small amount of touch-up paint can usually remedy the scratch.
Once the frame and door panels are unwrapped, we can begin the installation process.
STEP 1: Take Measurements
Verify that the rough opening is at least ½-1” wider on all sides of the outside of the jamb. Rough Opening must be 1/2” to 1" larger than door size ordered in both the horizontal as well as the vertical directions. This leaves 1/4” space on all sides to easily level the window/door. (i.e. if the rough opening size is 48”x60”, the maximum window size you would order is 47.5”x59.5”)
To get an accurate rough opening, you will need to follow the steps:
1) Measure the horizontal distance across the frame, from jamb to jamb. Take 3 measurements; one at the top, center, and the bottom. The smallest of these measurements will be your horizontal rough opening.
2) Measure the vertical distance from the bottom head jamb to the top of the window sill at the left, center, and right side. Take the smallest of these measurements and this is the vertical rough opening.
STEP 2: Assemble Frame
With large door openings, the frame will typically come in (4) four pieces that should be assembled on-site. To assemble the frame, you will need to use the provided screws to connect each piece (these are often already screwed into one of the frames for better organization), You will need to unscrew these screws, align the frames, then re-insert the screws to combine the frames. Make sure the frame surrounding the door is solid and free of movement. If the walls surrounding the door are not properly secured, this could allow for unwanted movement of the door after it is installed. This could result in damage of the door unit or the door not shutting properly.
STEP 3: Check Height & Threshold
Check the height of the finished floor in relation to where the sweep on the door slab will be. It may be necessary to raise the area under where the threshold of the door will rest. Keep in mind any rugs or floor coverings the customer is considering placing at the interior entrance area of the door and allow for clearance of the door slab and the sweep.
STEP 4: Insert Door Jamb In Opening
Place the door jamb, or frame, in the opening. Make sure the threshold portion of the frame is resting completely flat on the subfloor and that no debris is under the jamb. Check to make sure the jamb is level. Sometimes, the jamb may need to move closer to one side of the opening or another in order to be level. Some of our systems allow for slight adjustments to account for non-level surfaces, these should not be relied upon and instead the jamb must be completely level and straight for the doors to align properly.
Sometimes, shims may be needed to make sure the jamb is perfectly set in order for the doors to align & shut properly.
STEP 5: Align Mounting Tabs & Screw Holes
After making sure the jamb is plumb, mark on the studs or sheetrock where the mounting tabs are and the screw holes of the tabs. It may be necessary to remove the sheetrock behind the tabs so the screws do not hinder the ability to install casing on the inside after the door is installed. We offer several install options for our systems. Some require the on-site drilling of holes through the frame for attachment. Never drill through glass or glass frame as this comes tempered and will shatter immediately.
STEP 6: Secure Jamb With Screws
You may want to consider pre-drilling pilot holes for the screws to keep any wood studs from splitting, which would weaken the integrity of the installation. For masonry, we always recommend pre-drilling. Now you are ready to secure the jamb into the r/o with the screw through the mounting flange or newly drilled holes in the frame.
IMPORTANT: Do not over-tighten screws, which could lead to damage or bowing of the frame! Use levels to make sure all jambs are straight before hanging interior door/window panels.
Countersunk screws may be required to avoid operable parts from hitting the frame when opening/closing.
STEP 7: Install Door Panels
Door panels are numbered and should be installed in ascending order (i.e. 1, 2, 3, 4, etc…).
Now you are ready to hang the first door panel. Hinges will have screws already installed for organization and convenience, which will need to be unscrewed prior to install. Line up hinge locations, then re insert screw into hinge and hole.
For Folding Systems, panels should be hung and installed at a 90 degree angle to what their closed position would be. You will need 2 people to do this so that 1 person can hold/stabilize the panel while the other connects the hinges with screws.
Be careful not to fully shut the panels until all off door system has been installed ALONG WITH HANDLES AND LOCKS. Some of the panels come with the locking catch already installed, and if door panel gets closed before handle/lock have been installed, this can make the installation process more difficult.
You may need to slightly move the frame from side to side in order to align the door slabs or if any gaps occur on the top or bottom of the door and frame.
STEP 8: Troubleshooting
Always check that the frame/jamb, are even, or adjust as necessary.
It is imperative enough clearance is provided between the door frame and header to allow for swelling and movement that occurs with changing of temperature. This is why we recommend a minimum of 1/2” to 1” clear on both the sides and top for the rough frame opening . If doors get stuck or hard to open, it may mean adjusting the rough opening to allow for easier movement.
You may need to hang the doors multiple times to ensure they are aligned properly.
It is always recommend to hire an installer, experienced with door installations, if you are unsure of the process.


